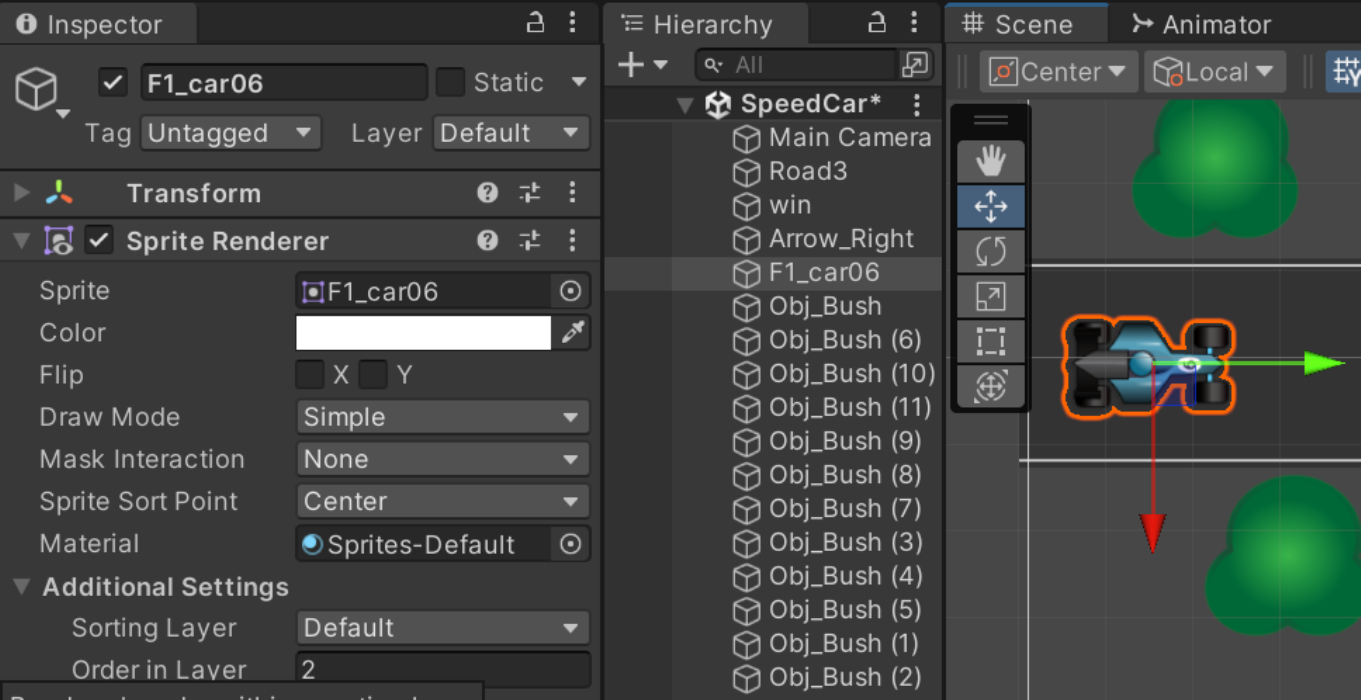
사용할 객체를 인스펙터창에 옮겨주세요.
2D는 레이어 값이 높을 수록 위에 나타납니다.
예를 들어 도로의 레이어 값이 0이라면 도착지가 1, 자동차는 2로 해주세요
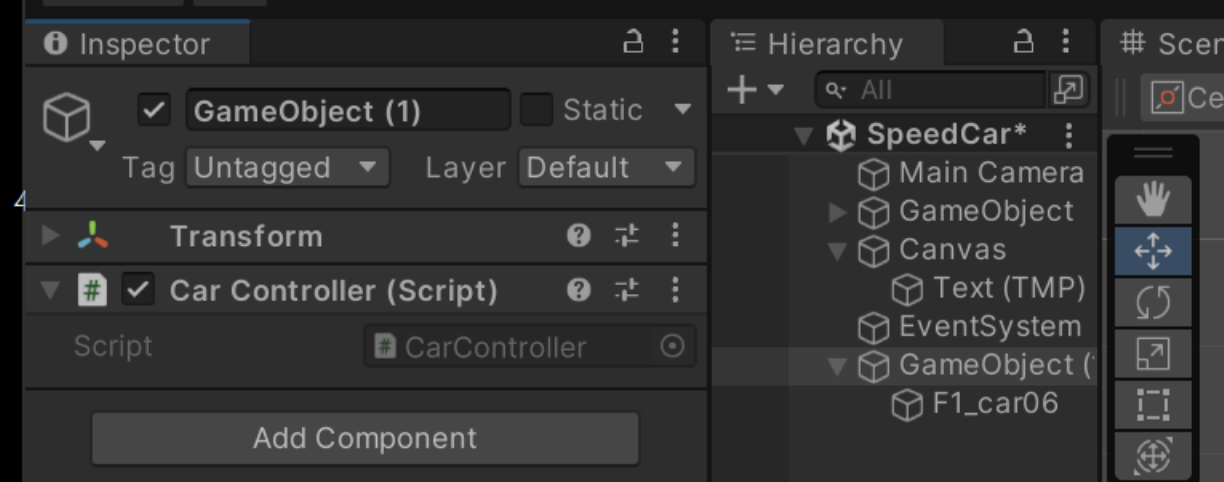
CarController.cs를 만들어 자동차에 넣어주세요
using System.Collections;
using System.Collections.Generic;
using UnityEngine;

public class CarController : MonoBehaviour
{
    float speed = 0;
    Vector2 startPos;
    // Start is called before the first frame update
    void Start()
    {
        Application.targetFrameRate = 60;
    }

    // Update is called once per frame
    void Update()
    {
        // 스와이프한 길이 구합니다.
        if (Input.GetMouseButtonDown(0))
        {
            // 마우스를 클릭한 좌표 입니다.
            this.startPos = Input.mousePosition;
            // mousePosition
            //  사용 예시 : Vector3 Input.mousePosition (get)
            // The current mouse position in pixal coordinates.(Read Only)
            // 픽셀 좌표의 현재 마우스 위치입니다.(읽기 전용)
        }

        else if (Input.GetMouseButtonUp(0))
        {
            // 마우스 버튼에서 손가락을 떼었을 때 좌표
            Vector2 endPos = Input.mousePosition;

            float swipeLength = endPos.x - startPos.x; // x좌표로만 계산

            // 스와이프한 거리를(x좌표사이의거리) 속도로 변경합니다.
            this.speed = swipeLength / 500.0f; // 좁으니까 속력 줄이기
        }

        transform.Translate(this.speed, 0, 0); // 이동, 자동차 방향에 맞게 바꿔주세요
        // Translate
        // 사용 예시 : void Transform.Tramslate(Vector3 translation, Spave relativeTo)(+ 5 오버로드)
        // Moves the transform in the direction and distance of translation.
        // 이동 방향과 이동 거리로 변환을 이동합니다.
        this.speed *= 0.95f; // 감속
    }
}
재생해 보세요. 마우스 이동 방향과 거리에 따라 자동차가 이동하는걸 볼 수 있어요
만약 자동차가 옆으로 이동하거나 한다면 자동차를 회전시켜서 좌표가 흐트러졌기 때문이에요.
해결 방법이 2가지 있어요.
1. 자동차 좌표축에 맞춰서 스크립트를 고치기
이때, 이동 방향을 자동차 방향에 맞게 수정해 주세요
예) transform.Translate(0, this.speed,0); // y방향으로 이동
2. 빈 오브젝트에 회전시킨 자동차를 넣고 오브젝트에 스크립트를 넣어주세요
transform.Translate(this.speed, 0, 0);
그치만 이 글에서는 자동차와 목적지 사이의 거리를 구해야하기 때문에 좌표축을 일치시키는 방법(2)을 사용할게요.
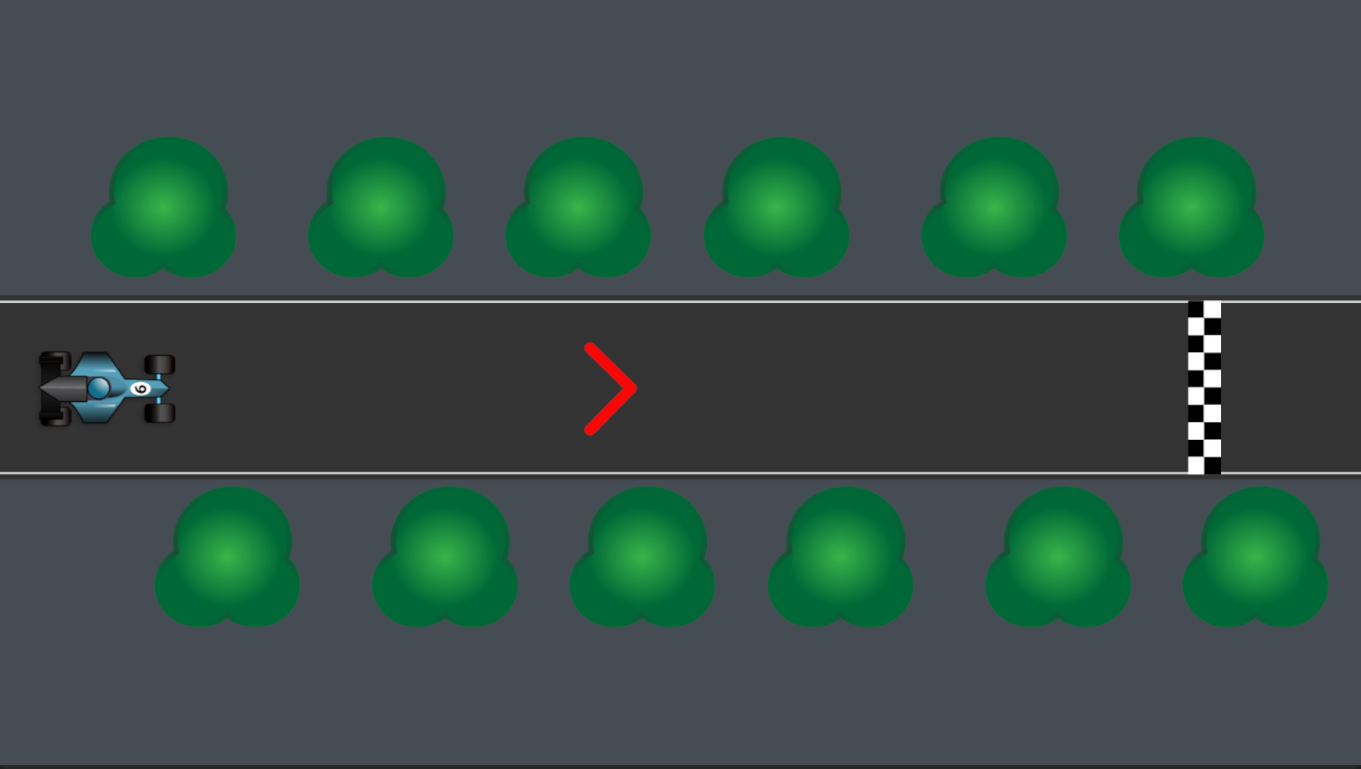
도착선과 자동차 사이의 거리를 알려주는 UI를 만들 거에요
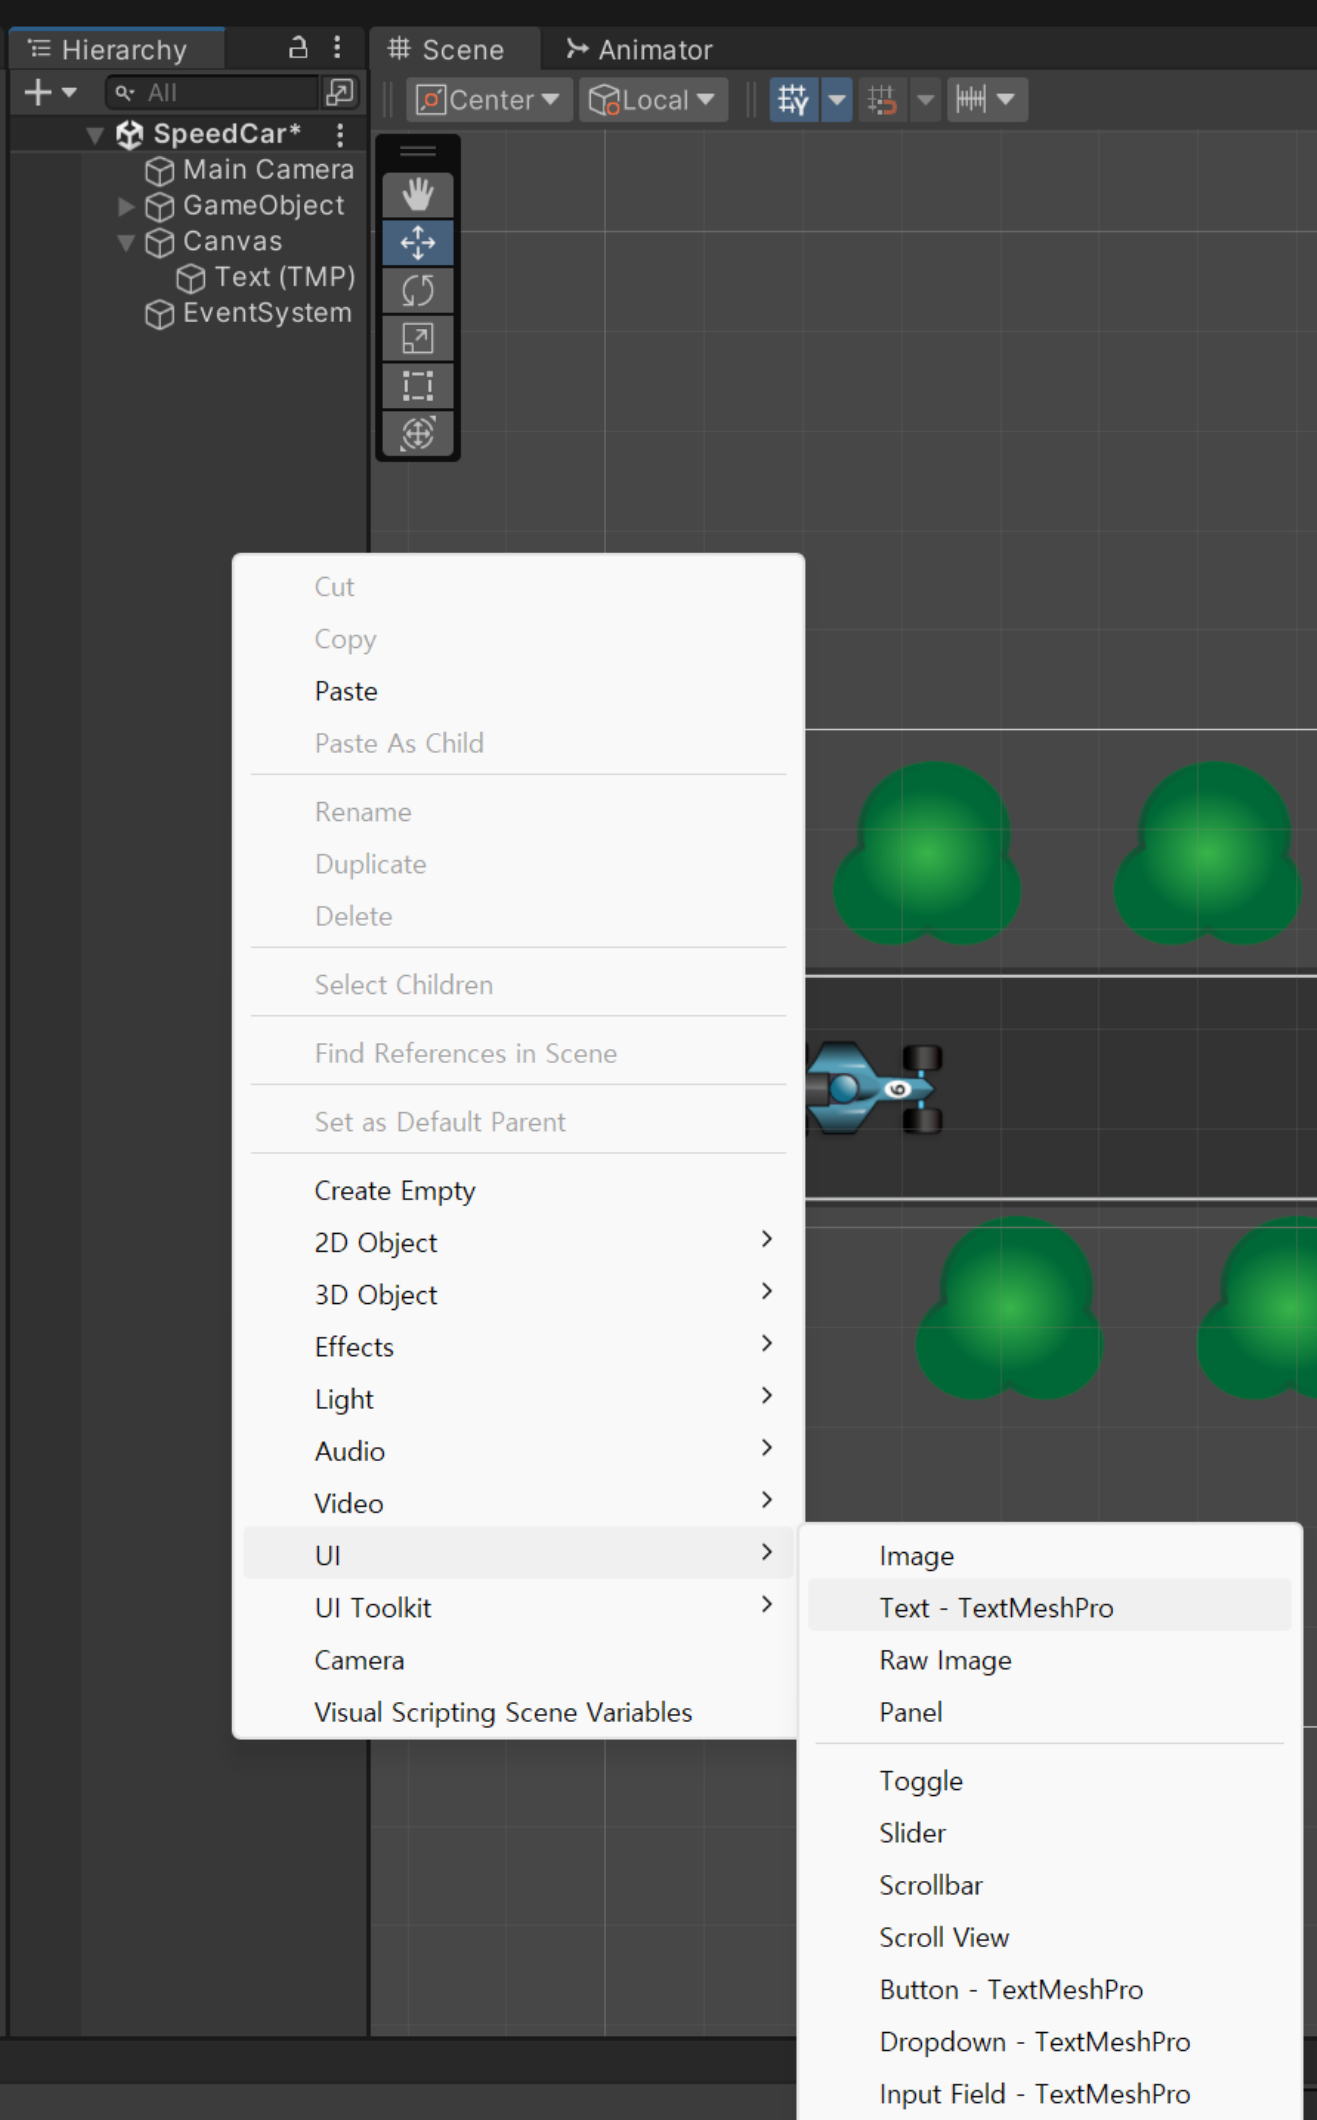
하이라키창에 Text(TMP)를 만들어 주세요. import창이 뜬다면 둘다 설치해주세요
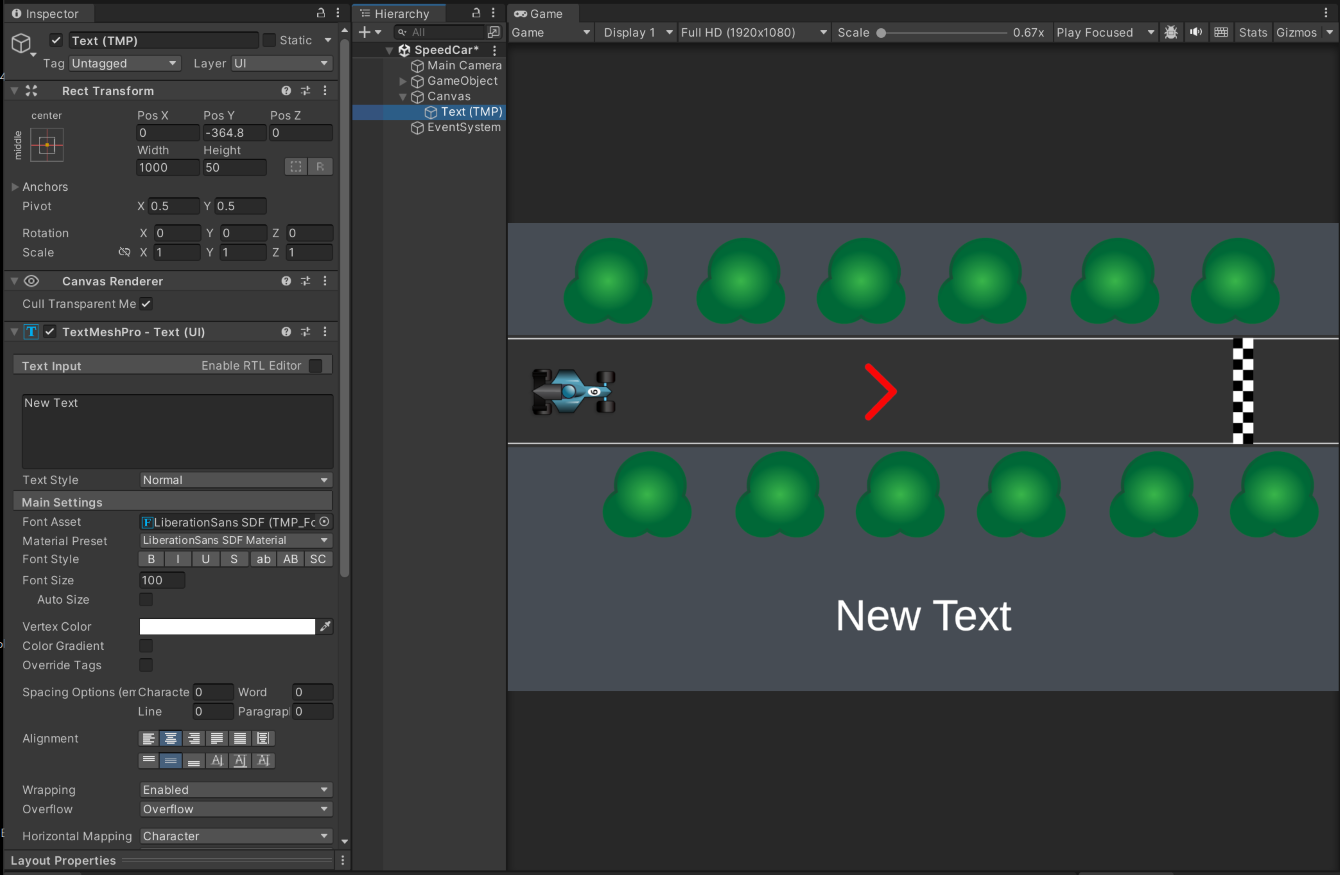
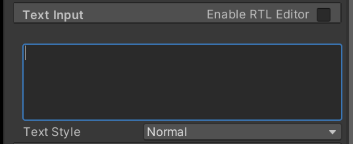
텍스트는 스크립트로 바꿔줄 테니 텍스트 내용을 지워주세요
UI를 갱신하는 스크립트 GameDirector.cs를 작성해 빈 오브젝트(GameDirector)에 넣어주세요.
using System.Collections;
using System.Collections.Generic;
using TMPro;
using UnityEngine;
using UnityEditor.UI;

public class GameDirectorCar : MonoBehaviour
{
    GameObject car;
    GameObject goal;
    GameObject distance;
    bool gameOver = false;
    // Start is called before the first frame update
     void Start()
    {// 하이라키에 있는 해당 객체의 이름을 적습니다.
        this.car = GameObject.Find("car");
        this.goal = GameObject.Find("goal");
        this.distance = GameObject.Find("distance");
    }


    // Update is called once per frame
    // Update is called once per frame
    void Update()
    {
        float length = this.goal.transform.position.x - this.car.transform.position.x;
        // transform은 GetComponent<Transform>과 같습니다.

        if (length > 0.6f)
        {
            // TMP의 텍스트 수정
            this.distance.GetComponent<TextMeshProUGUI>().text = "Distance: " + length.ToString("F2") + "m";
            // ~.ToString("F2")  소숫점 둘째자리까지 표시
        }
        else if (length > -1 && length <= 0.6)
        {
            this.distance.GetComponent<TextMeshProUGUI>().text = "Win!";
            gameOver = true;
        }
        else
        {
            this.distance.GetComponent<TextMeshProUGUI>().text = "Game Over";
            gameOver = true;
        }
    }
}
재생해보고 안되는 부분이 있다면 댓글에 남겨주세요
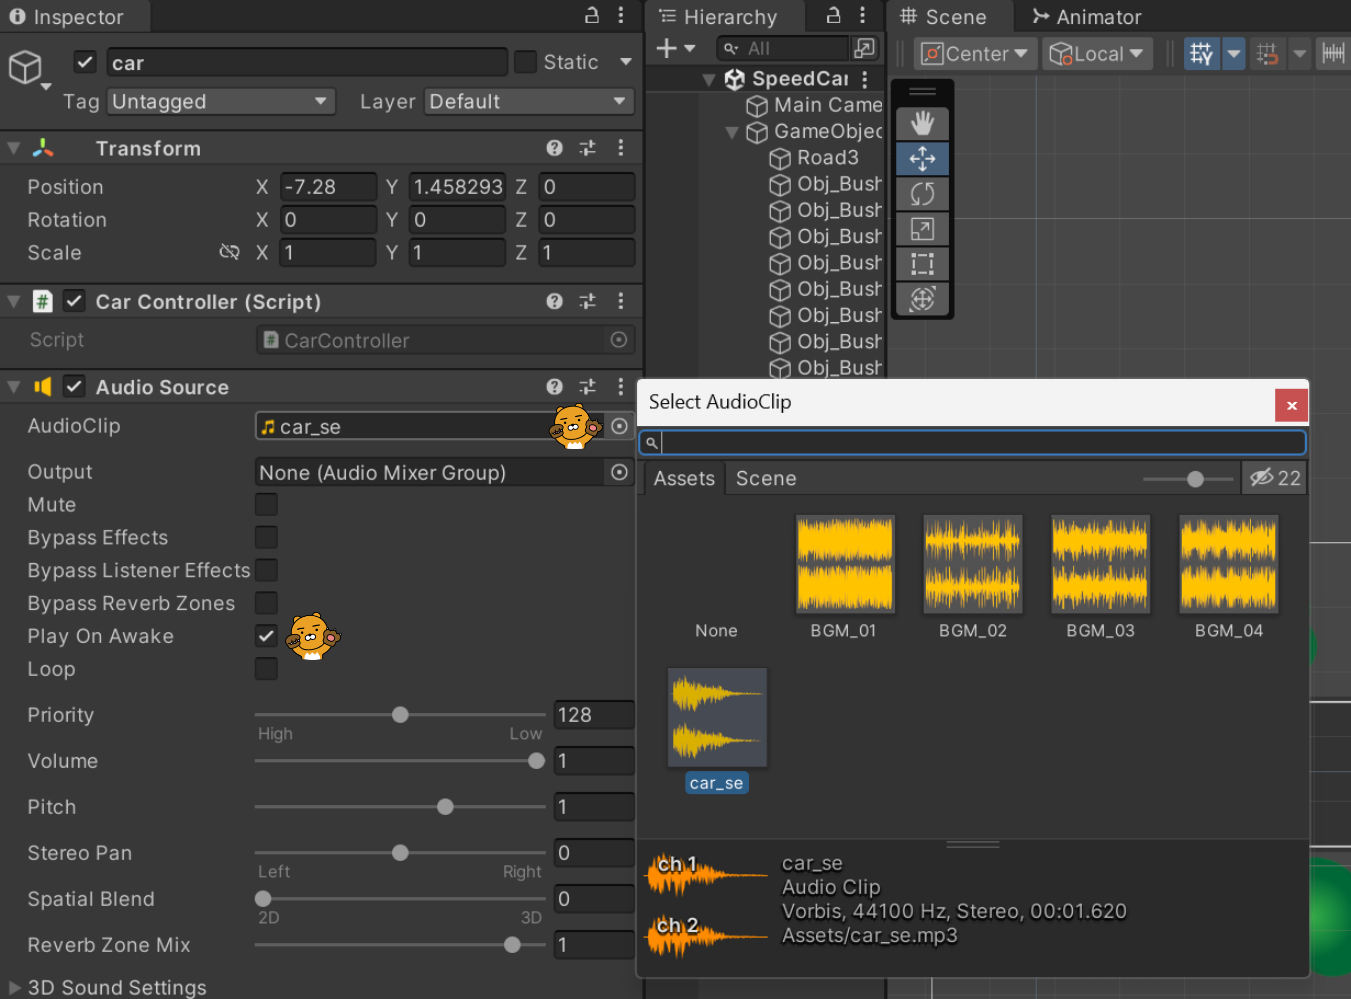
이제 자동차가 움직일때 효과음을 넣겠습니다.
하이라키 창에서 자동차(carController가 들어있는 오브젝트)에 Audio Source컴포넌트를 추가해 주세요
Play on Awake 체크를 해제합니다.
CarController.cs 코드를 수정해 차가 움직일 때 소리가 나게 할게요.
using System.Collections;
using System.Collections.Generic;
using UnityEngine;

public class CarController : MonoBehaviour
{
    float speed = 0;
    Vector2 startPos;
    void Start(){
        Application.targetFrameRate = 60;
    }
    void Update(){
        if (Input.GetMouseButtonDown(0)){
            this.startPos = Input.mousePosition;
        }
        else if (Input.GetMouseButtonUp(0)){
            Vector2 endPos = Input.mousePosition;
            float swipeLength = endPos.x - startPos.x; // x좌표로만 계산
            this.speed = swipeLength / 500.0f; // 좁으니까 속력 줄이기

            // 이 줄만 추가해주세요. 효과음을 재생합니다.
            GetComponent<AudioSource>().Play();
        }
        transform.Translate(this.speed, 0, 0); // 이동, 자동차 방향에 맞게 바꿔주세요
        this.speed *= 0.95f; // 감속
    }
}
끝!
코드
'UNITY > Unity Study' 카테고리의 다른 글
| FurBall의 탈출기 (0) | 2023.08.23 |
|---|---|
| 화살피하기 Unity 2D (0) | 2023.08.22 |
| C# (0) | 2023.08.21 |
| 유니티 문법 (0) | 2023.08.19 |
| 벡터 사이의 거리 구하기 (0) | 2023.08.19 |


